Table of Contents
In an era where technology is constantly evolving, our portable devices have become more than just tools for entertainment and communication; they have become versatile platforms for creativity, productivity, and self-expression. The iPad, in particular, has become a powerhouse for various tasks, including content creation, virtual meetings, and audio recording. And at the heart of these capabilities lies the often underestimated but highly important component – the microphone.
Unveiling the Types of iPad Microphones

Before we dive into the details of optimizing microphone performance on your iPad, it’s crucial to understand the types of microphones you might encounter. Depending on your iPad model, you may have one or more of the following microphone types:
Built-in Microphones:
Most iPads come equipped with built-in microphones. These are usually small, unobtrusive microphones that are integrated into the device itself. They are suitable for everyday tasks like video calls and voice memos.
External Microphones:
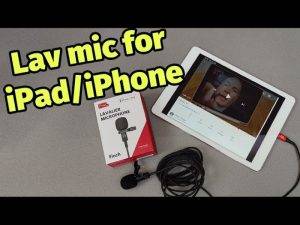
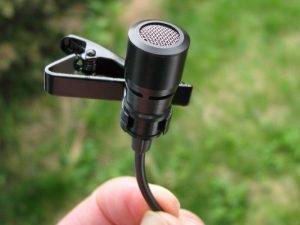
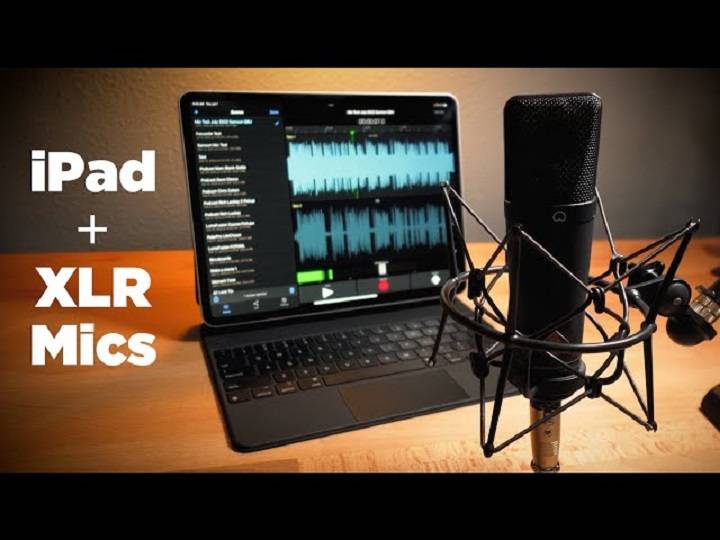
For those who require higher audio quality, external microphones are the way to go. These microphones can be connected to your iPad via the headphone jack, lightning port, or Bluetooth. They come in various types, such as lavalier microphones, shotgun microphones, and USB microphones, each with its own strengths and use cases.
Making the Most of Built-in iPad Microphones
While built-in iPad microphones may not offer the same audio quality as external options, they can still be quite useful in various scenarios. Here’s how to optimize their performance:
Ensure a Clean Environment:
Built-in microphones are highly sensitive and can pick up background noise easily. To achieve the best results, use your iPad in a quiet environment free from distractions.
Positioning Matters:
Depending on your iPad model, the microphone location may vary. On some iPads, the microphones are located near the camera, while on others, they are near the bottom edge. Be mindful of your iPad’s microphone placement and position it accordingly for optimal audio capture.
Invest in a Protective Case:
If you often use your iPad for recording or video calls, consider investing in a protective case that has microphone cutouts. This can help reduce unwanted noise and enhance audio quality.
Harnessing the Power of External Microphones

For those seeking professional-grade audio quality or specialized features, external microphones are the go-to choice. Here’s how to make the most of them:
Compatibility is Key:
Ensure that the external microphone you choose is compatible with your iPad model. Some microphones may require adapters or additional accessories to connect to your device.
Select the Right Microphone Type:
The type of external microphone you choose depends on your intended use. Shotgun microphones are great for directional recording, lavalier microphones are ideal for hands-free applications, and USB microphones are versatile options for various tasks.
Experiment with Settings:
External microphones often come with adjustable settings for gain, polar patterns, and filters. Experiment with these settings to find the perfect configuration for your specific recording needs.
Troubleshooting Microphone Issues on iPad
Even the most advanced external microphones or built-in iPad microphones can encounter issues. Here are some common problems and their solutions:
No Sound or Low Volume:
If you’re experiencing no sound or low volume from your microphone, check the microphone’s physical connection, clean the microphone port, and ensure that the microphone is not muted in the iPad’s settings.
Background Noise and Distortion:
To reduce background noise and distortion, make use of noise-canceling apps and features available on your iPad. You can also adjust the microphone gain settings to find the right balance between clarity and background noise reduction.
Microphone Not Recognized:
If your iPad fails to recognize an external microphone, ensure it is properly connected and supported by your iPad model. You may need to install a dedicated app or adjust settings in some cases.
Enhancing Microphone Performance for Specific Tasks
Each task you perform on your iPad may require different microphone optimizations. Here are some task-specific tips:
Podcasting and Voice Recording:
When recording podcasts or voiceovers, use a high-quality external microphone, position it close to your mouth for clear audio capture, and record in a quiet environment.
Virtual Meetings and Video Calls:
For virtual meetings and video calls, invest in a good-quality headset with a built-in microphone or use external microphones with noise-canceling capabilities to ensure clear communication.
Music Production:
Musicians and music producers can benefit from USB microphones or audio interfaces that provide superior audio quality. Experiment with different microphone placements to achieve the desired sound.
Field Recording:
If you’re recording audio in the field, consider using a shotgun microphone to capture specific sounds while minimizing background noise. Use windshields and shock mounts to improve recording quality.
Related Post:
The Evolution of Sound: Noise-Canceling Microphones – A Comprehensive Guide
The Magic of Movie Microphones: A Comprehensive Guide
Boom Microphones in Film: Capturing Cinematic Sound
In a world where our devices are our constant companions, understanding and optimizing the capabilities of our iPad’s microphones can open up a world of possibilities. Whether you’re using it for professional tasks or personal endeavors, the right microphone setup can make a significant difference in the quality of your audio recordings, calls, and creative projects.
By identifying the microphone type on your iPad, optimizing its use, troubleshooting issues, and tailoring your setup to specific tasks, you can unlock the full potential of your iPad’s microphones. So, go ahead, explore, create, and communicate with clarity and precision, knowing that your iPad’s microphones are there to help you every step of the way.

